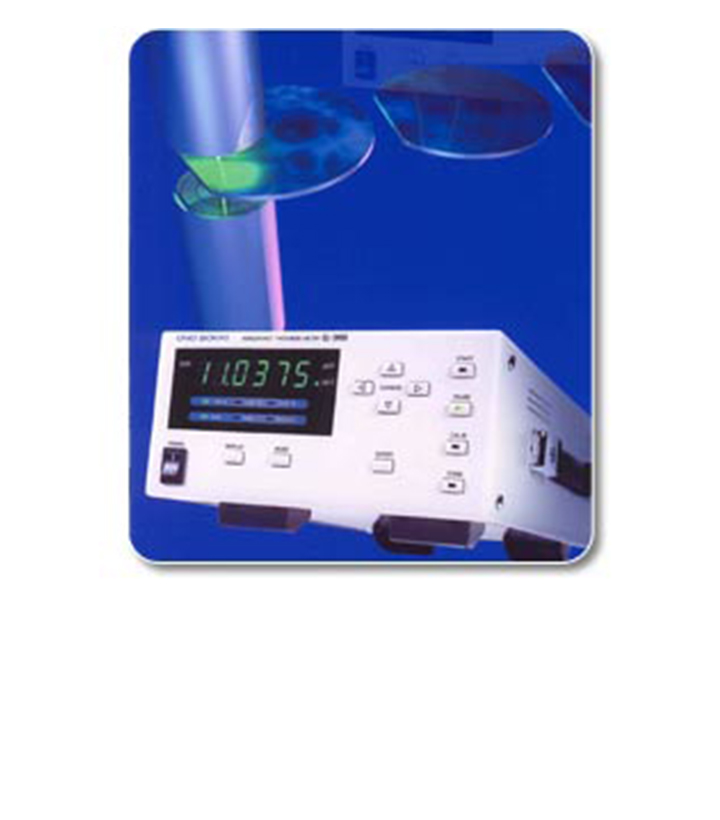
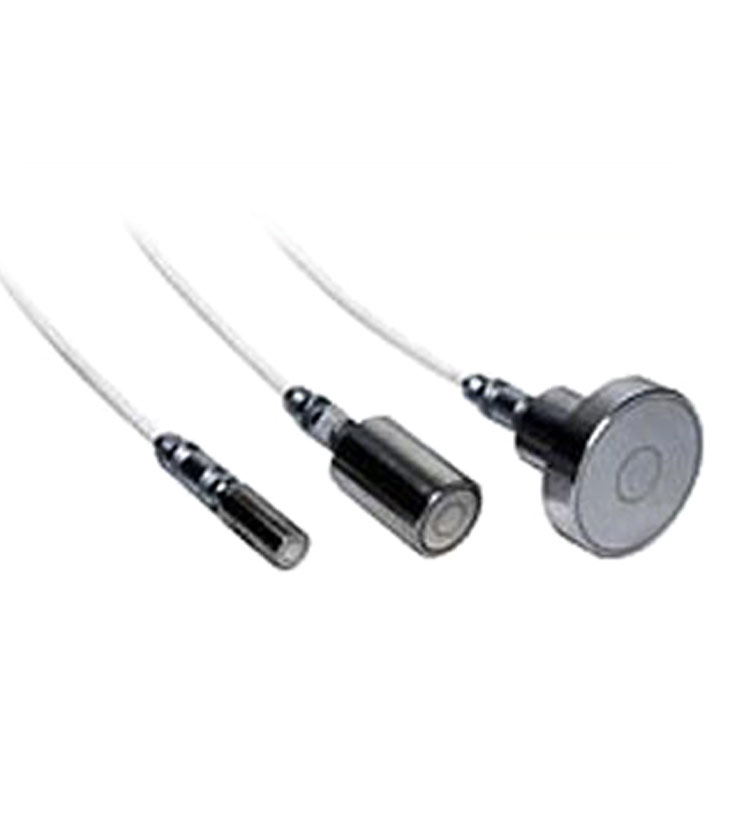
The CL-2400 is designed for measurements on conductors, such as aluminum discs, and semiconductors, such as silicon wafers. Thickness is measured as the material under measurement passes through the gap formed between two opposing gap sensors. The CL-2400 can be used for static or running thickness measurements. BCD output, RS-232C interface, and remote control inputs are provided for external control, analysis, and measurement automation. Discontinued, replaced with the CL-5610.
- Easy to read, large digital display.
Specifications
| Measures | Thickness, gaps |
| Display | 7-segments, 6-digit, green LED display, including units and error messages |
| Display Mode | Absolute value, max., min., max.-min. value |
| Resolution | Depending on VE series gap detectors to be combined (0.1 um or 1 um) |
| Parameter settings | by key operation on the panel can be stored in the internal memory and held in the power-off memory |
| Sampling Rate | 20 ms |
| Averaging | 1 to 16 times (moving averaging) |
| Real-time data processing | Max., min., max.-min. values of measuring data are displayed in real time Data initialized at the start and held at the stop. |
| Interface | BCD 5-digit BCD data output , RS-232C displayed data and panel conditions |
| Output | printer via BCD output, external control, Using external contact signals for START/STOP, PAUSE, CALIBRATION START INPUT, Input specifications : photocoupler input |
| Operating temperature | 0 to +40 °C, +18 to +28 °C (guaranteed accuracy range) |
| Humidity | 20 to 80% R.H * with no condensation |
| Power Supply | 100 to 240 VAC, 50/60 Hz, 30VA or less |
| Outer Dimensions | 210 (W) x 99 (H) x 350 (D) mm |
| Weight | Approx. 3.7 kg |


